Scan with the PIA-pinters (Nashuatec MP C3003SP)
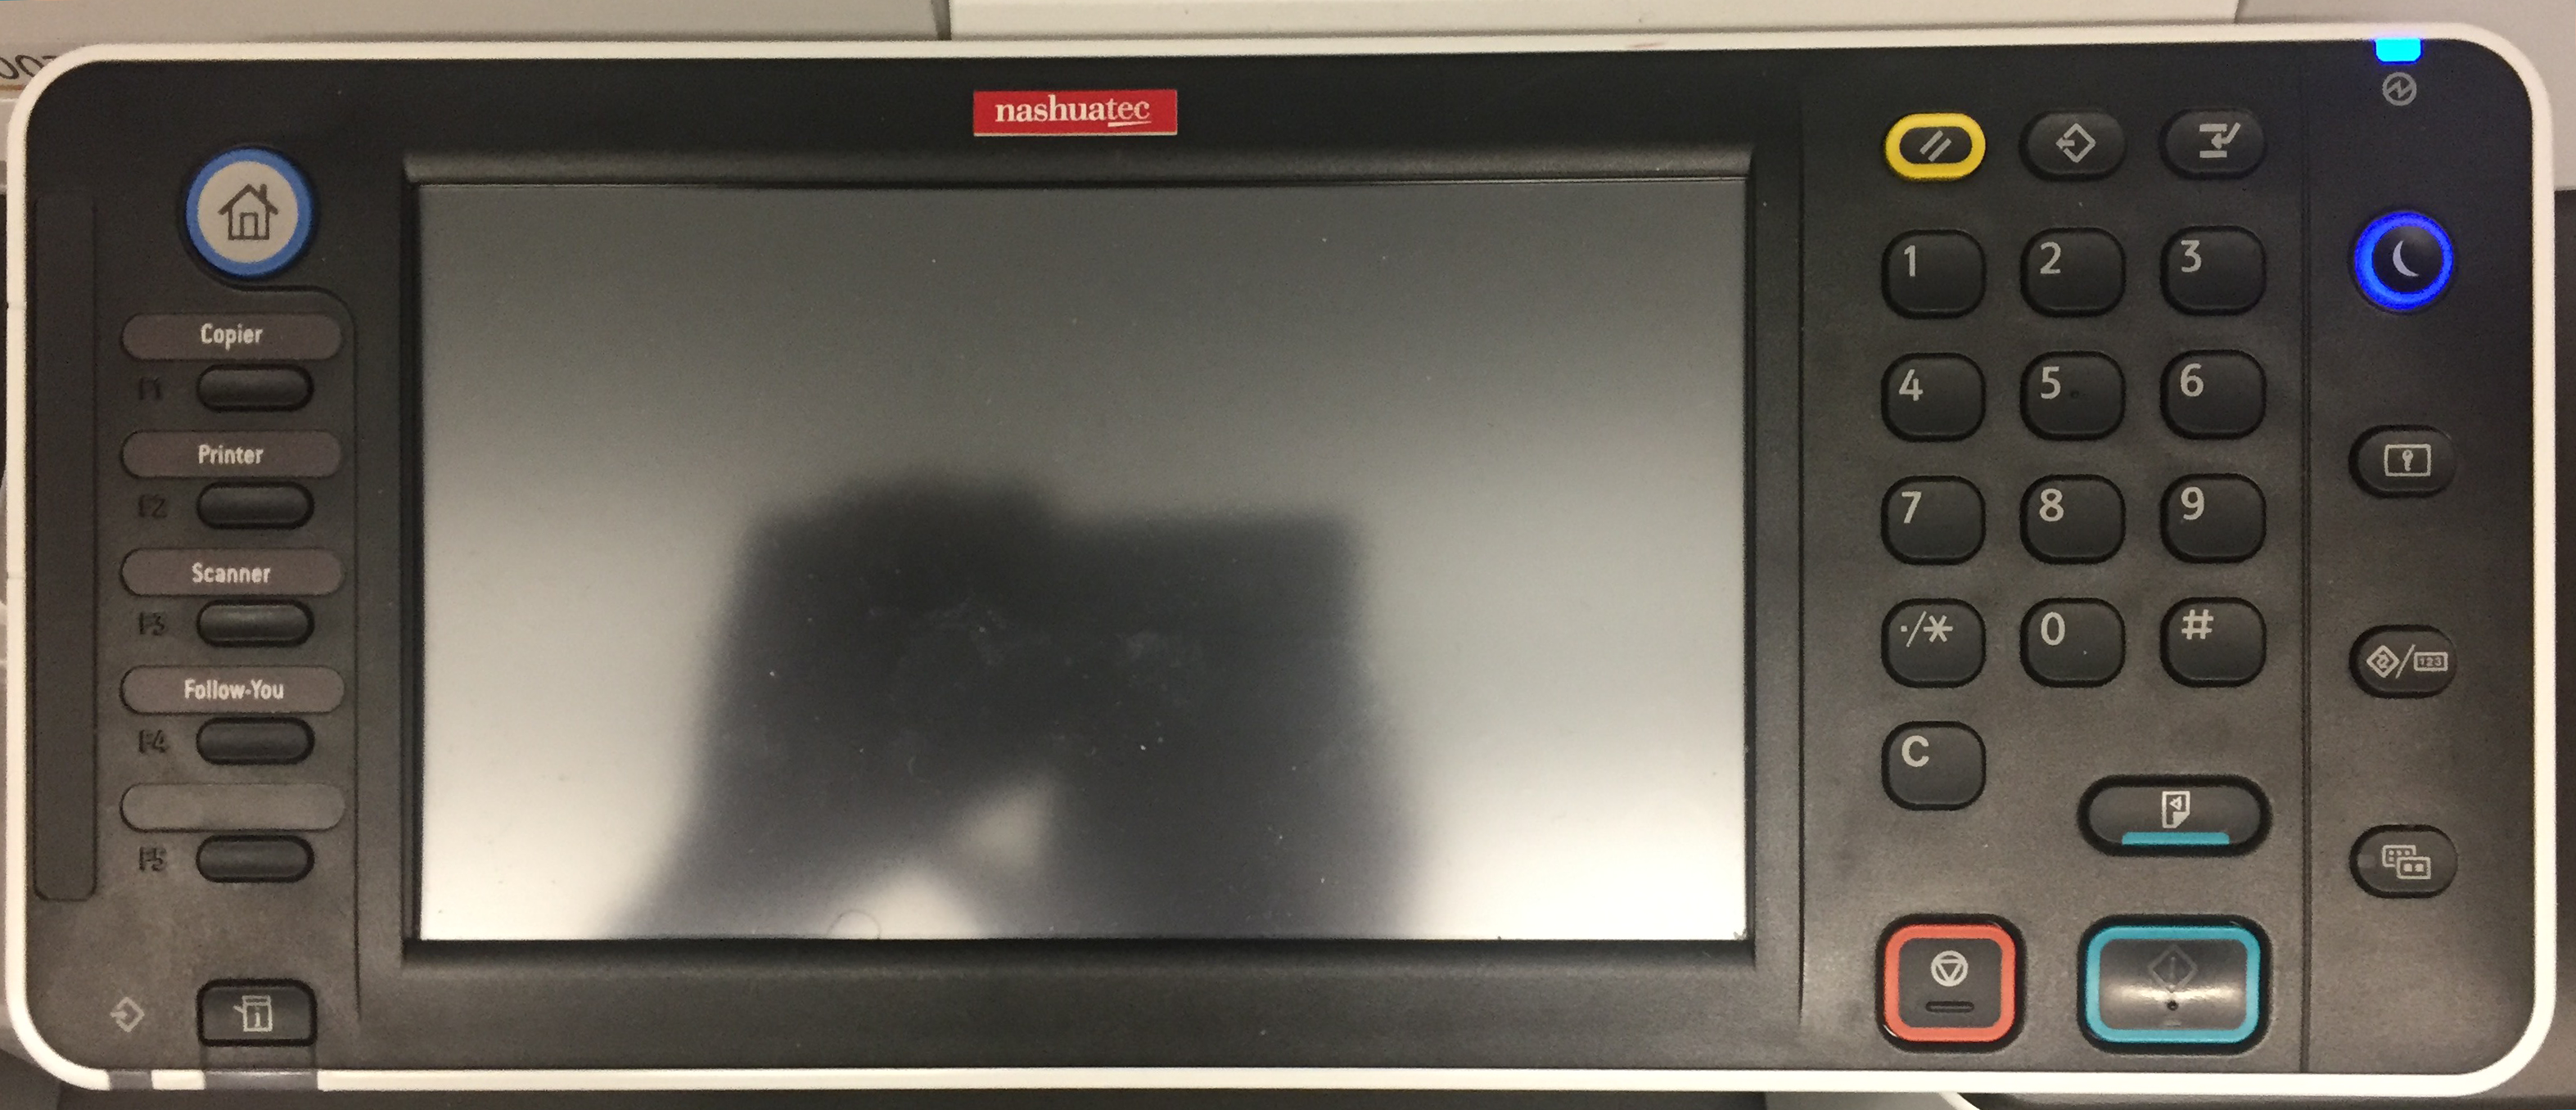
Six basic steps of scanning
1. Insert documents
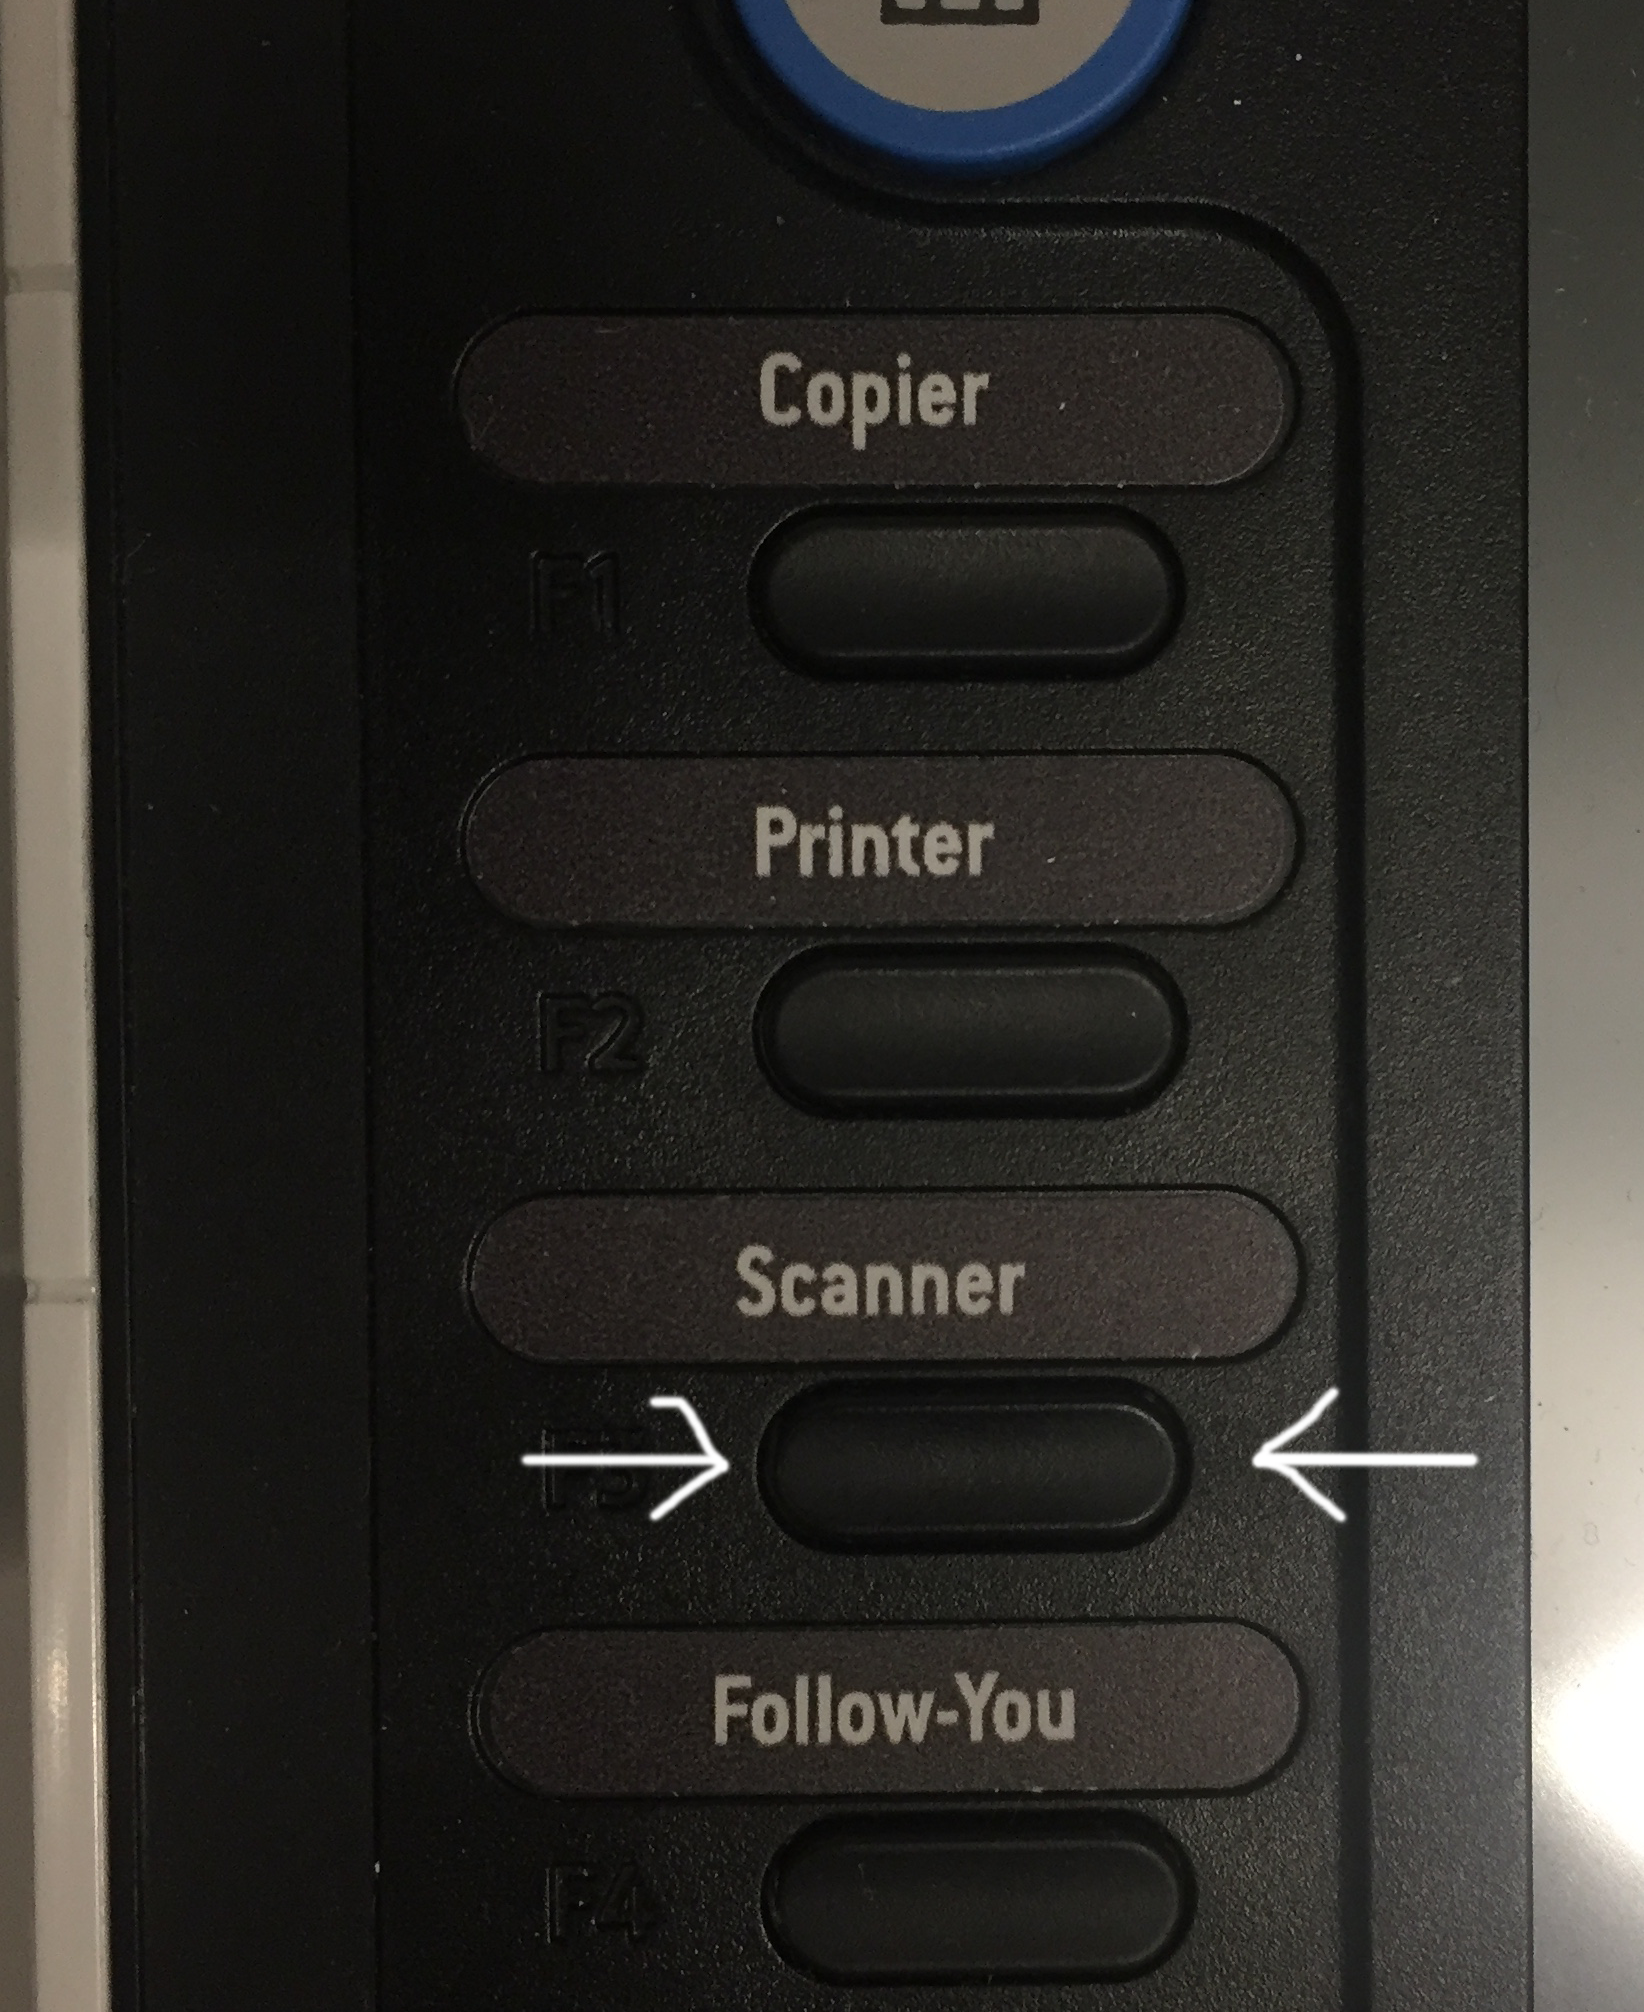
2. Press scan button
3. Select destination
4. Make required settings
5. Press start
6. Retrieve scan at work station
1. Insert documents
Two input modules are available. Namely:
Document feeder for documents with multiple pages
Make sure that the documents are all in the same format, in good condition and free of paper clips. Insert the document front-side-up (first page at the top) and upper edge toward the back, pointing to the left, in the document feeder. Bring the paper guide up to the stack.
Exposure glass
The exposure glass serves to copy individual pages and bound documents and may be used for any format up to A3. Place document face-down on the exposure glass so that the corner of the document is aligned with the white arrow in the top left corner. Lower the document feeder.
2. Press scan button
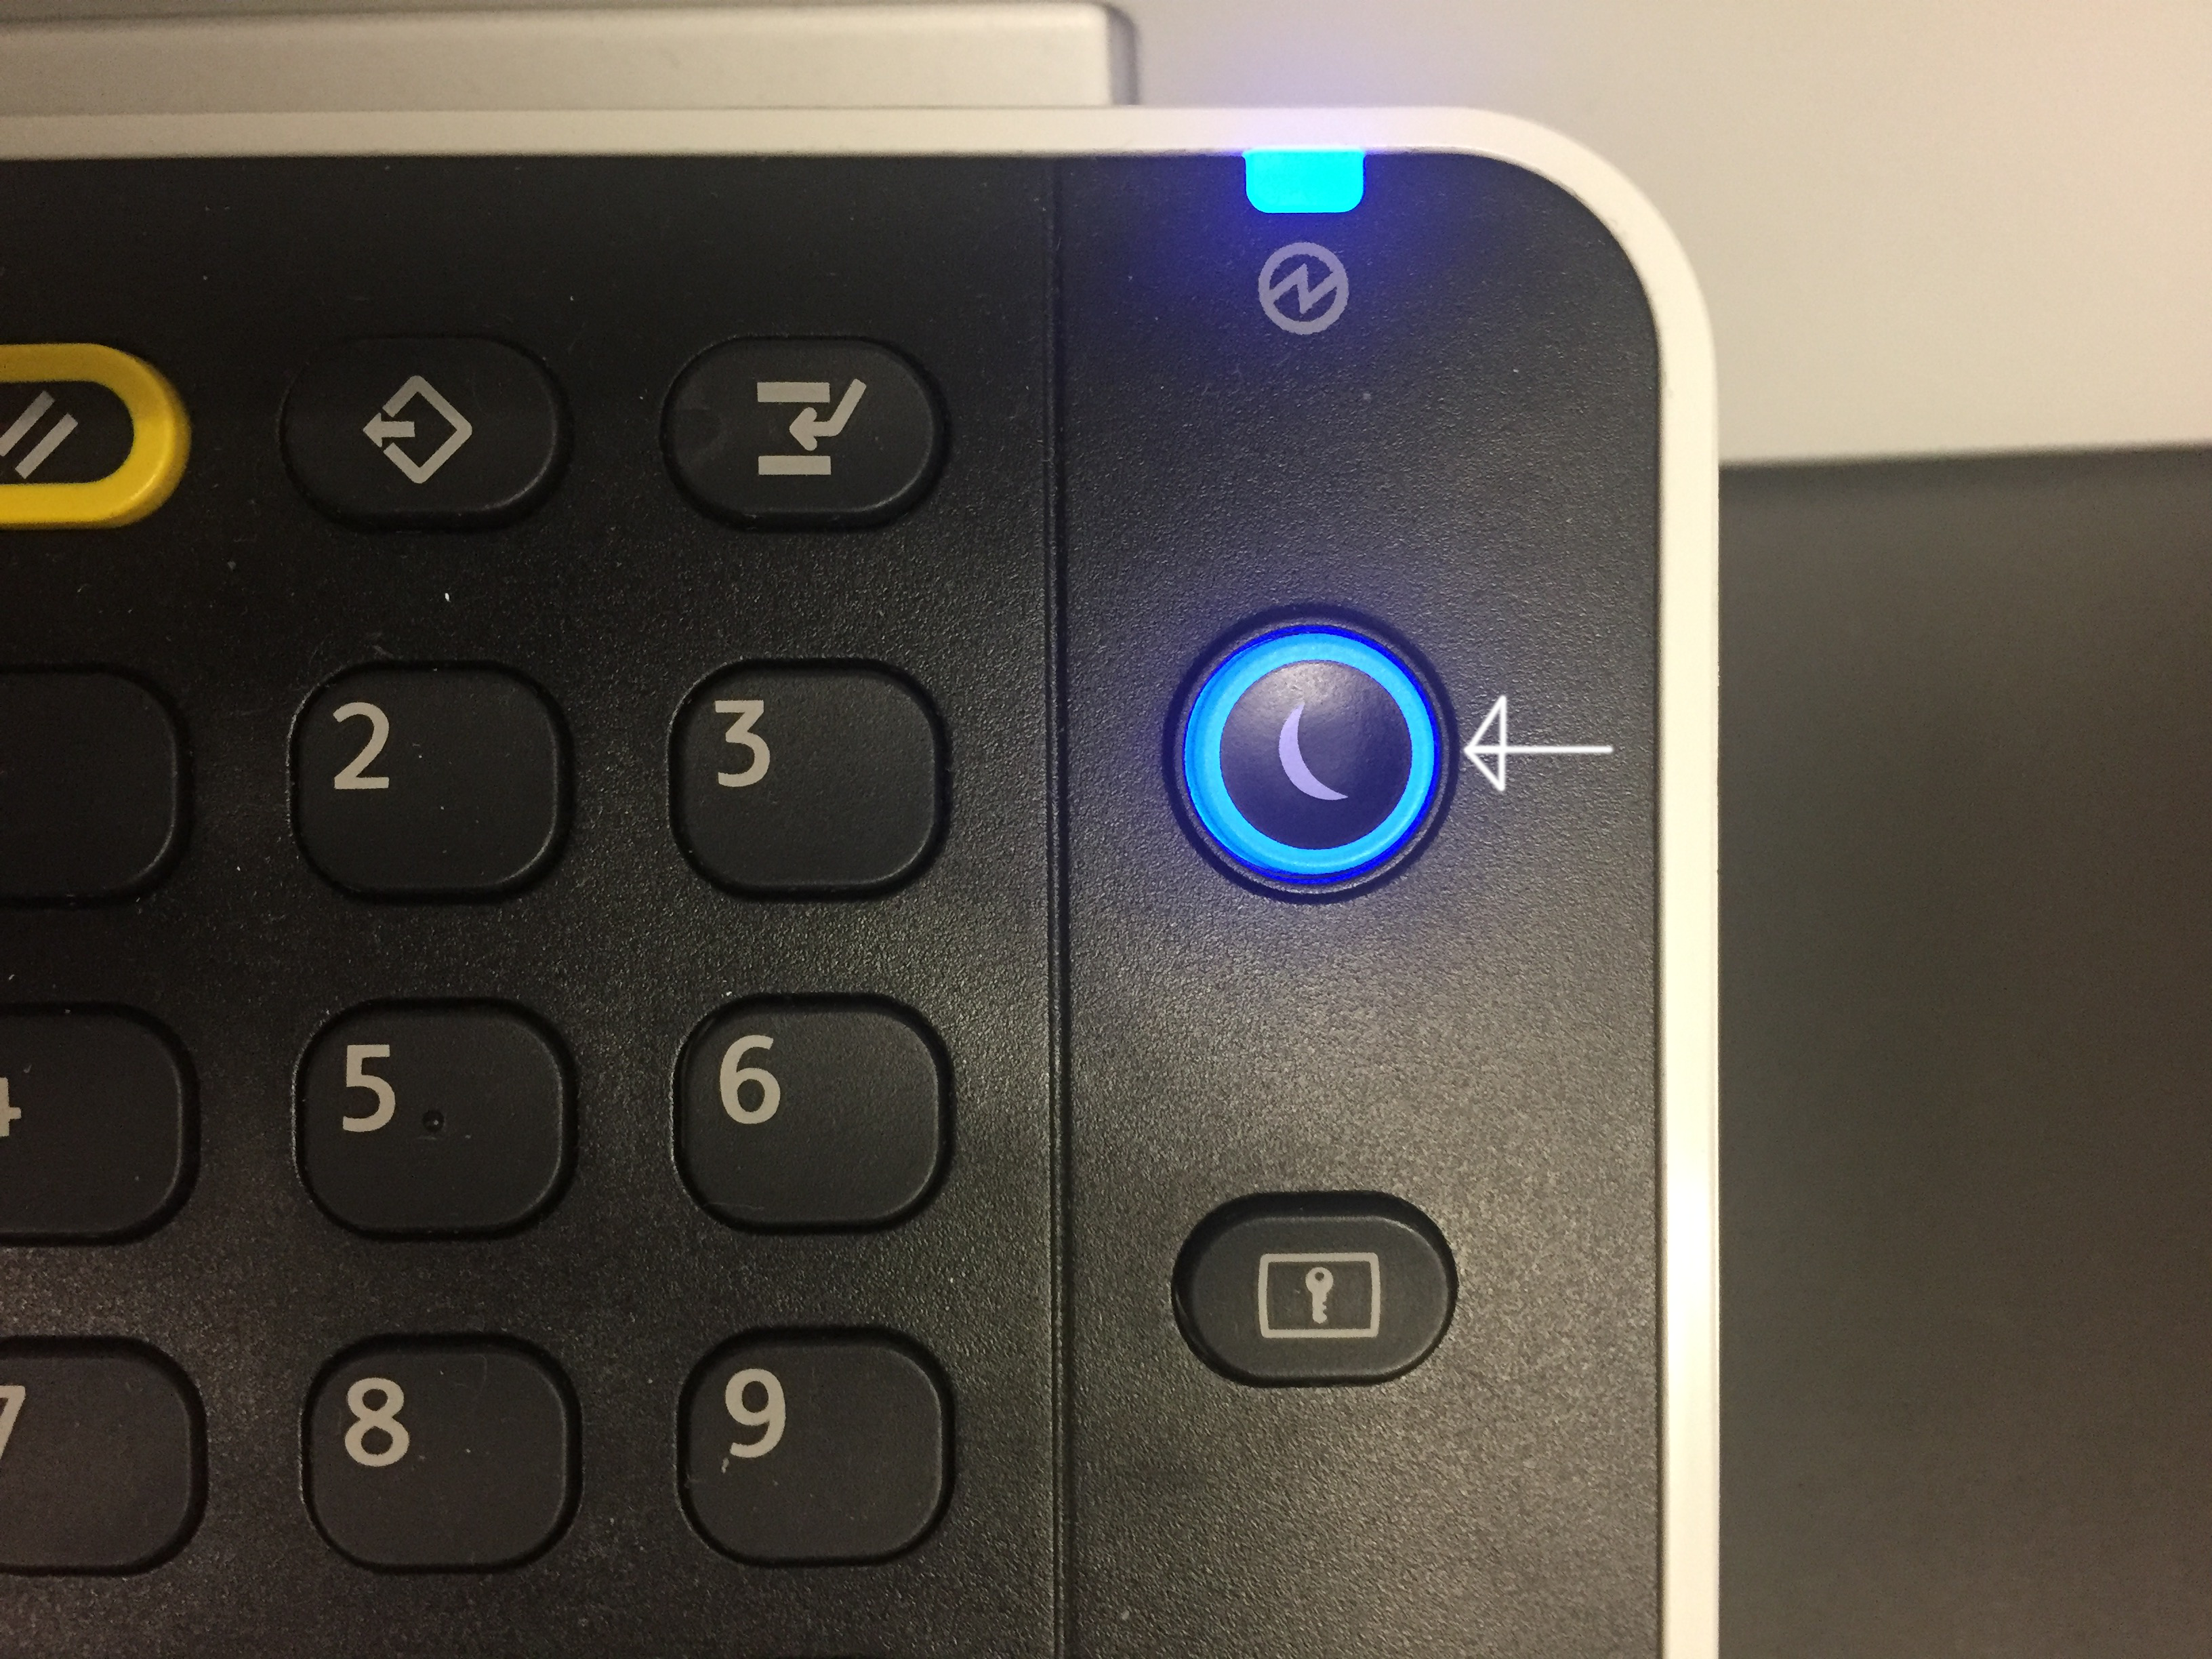
If the machine is sleeping, wake it up:
3. Select destination
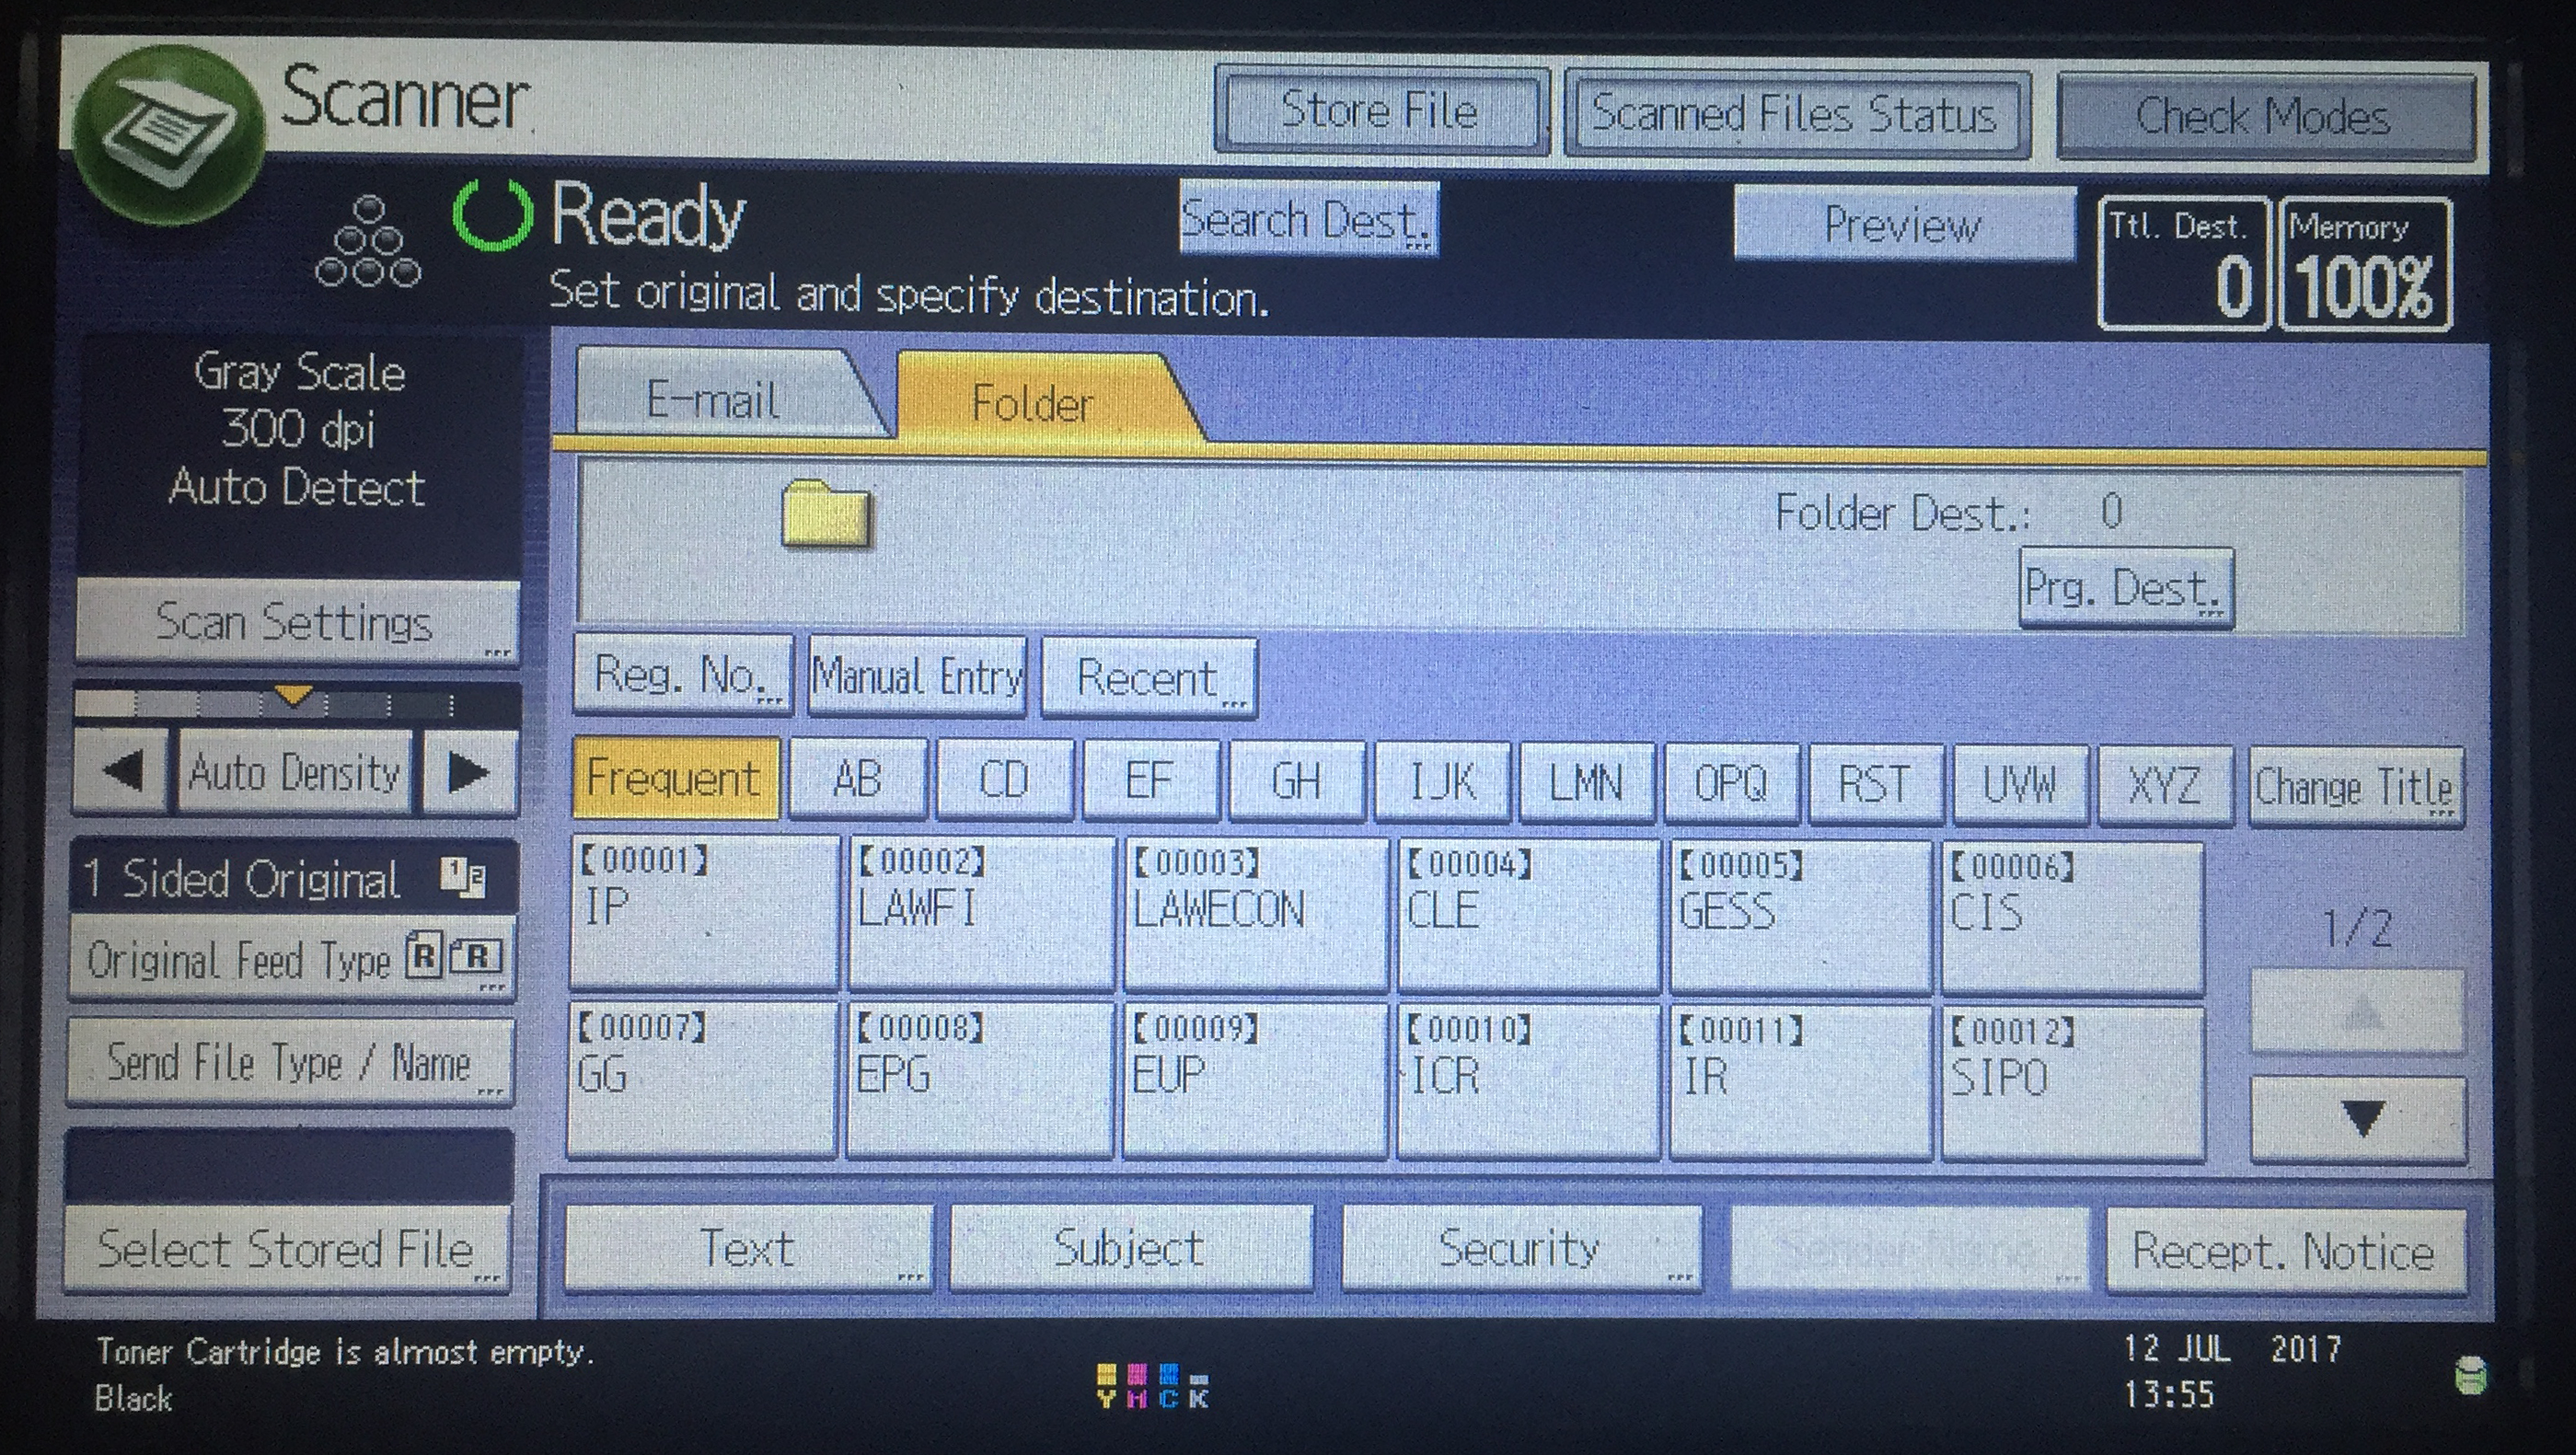
Press the button with the name of your group, arrow down for futher buttons.
4. Make required settings
If additional settings are required for the document, open the “Scan Settings”, “Original Feed Type”, or “Send File Type / Name” (storage options) and select the required settings. Further information on settings may be found here.
5. Press start
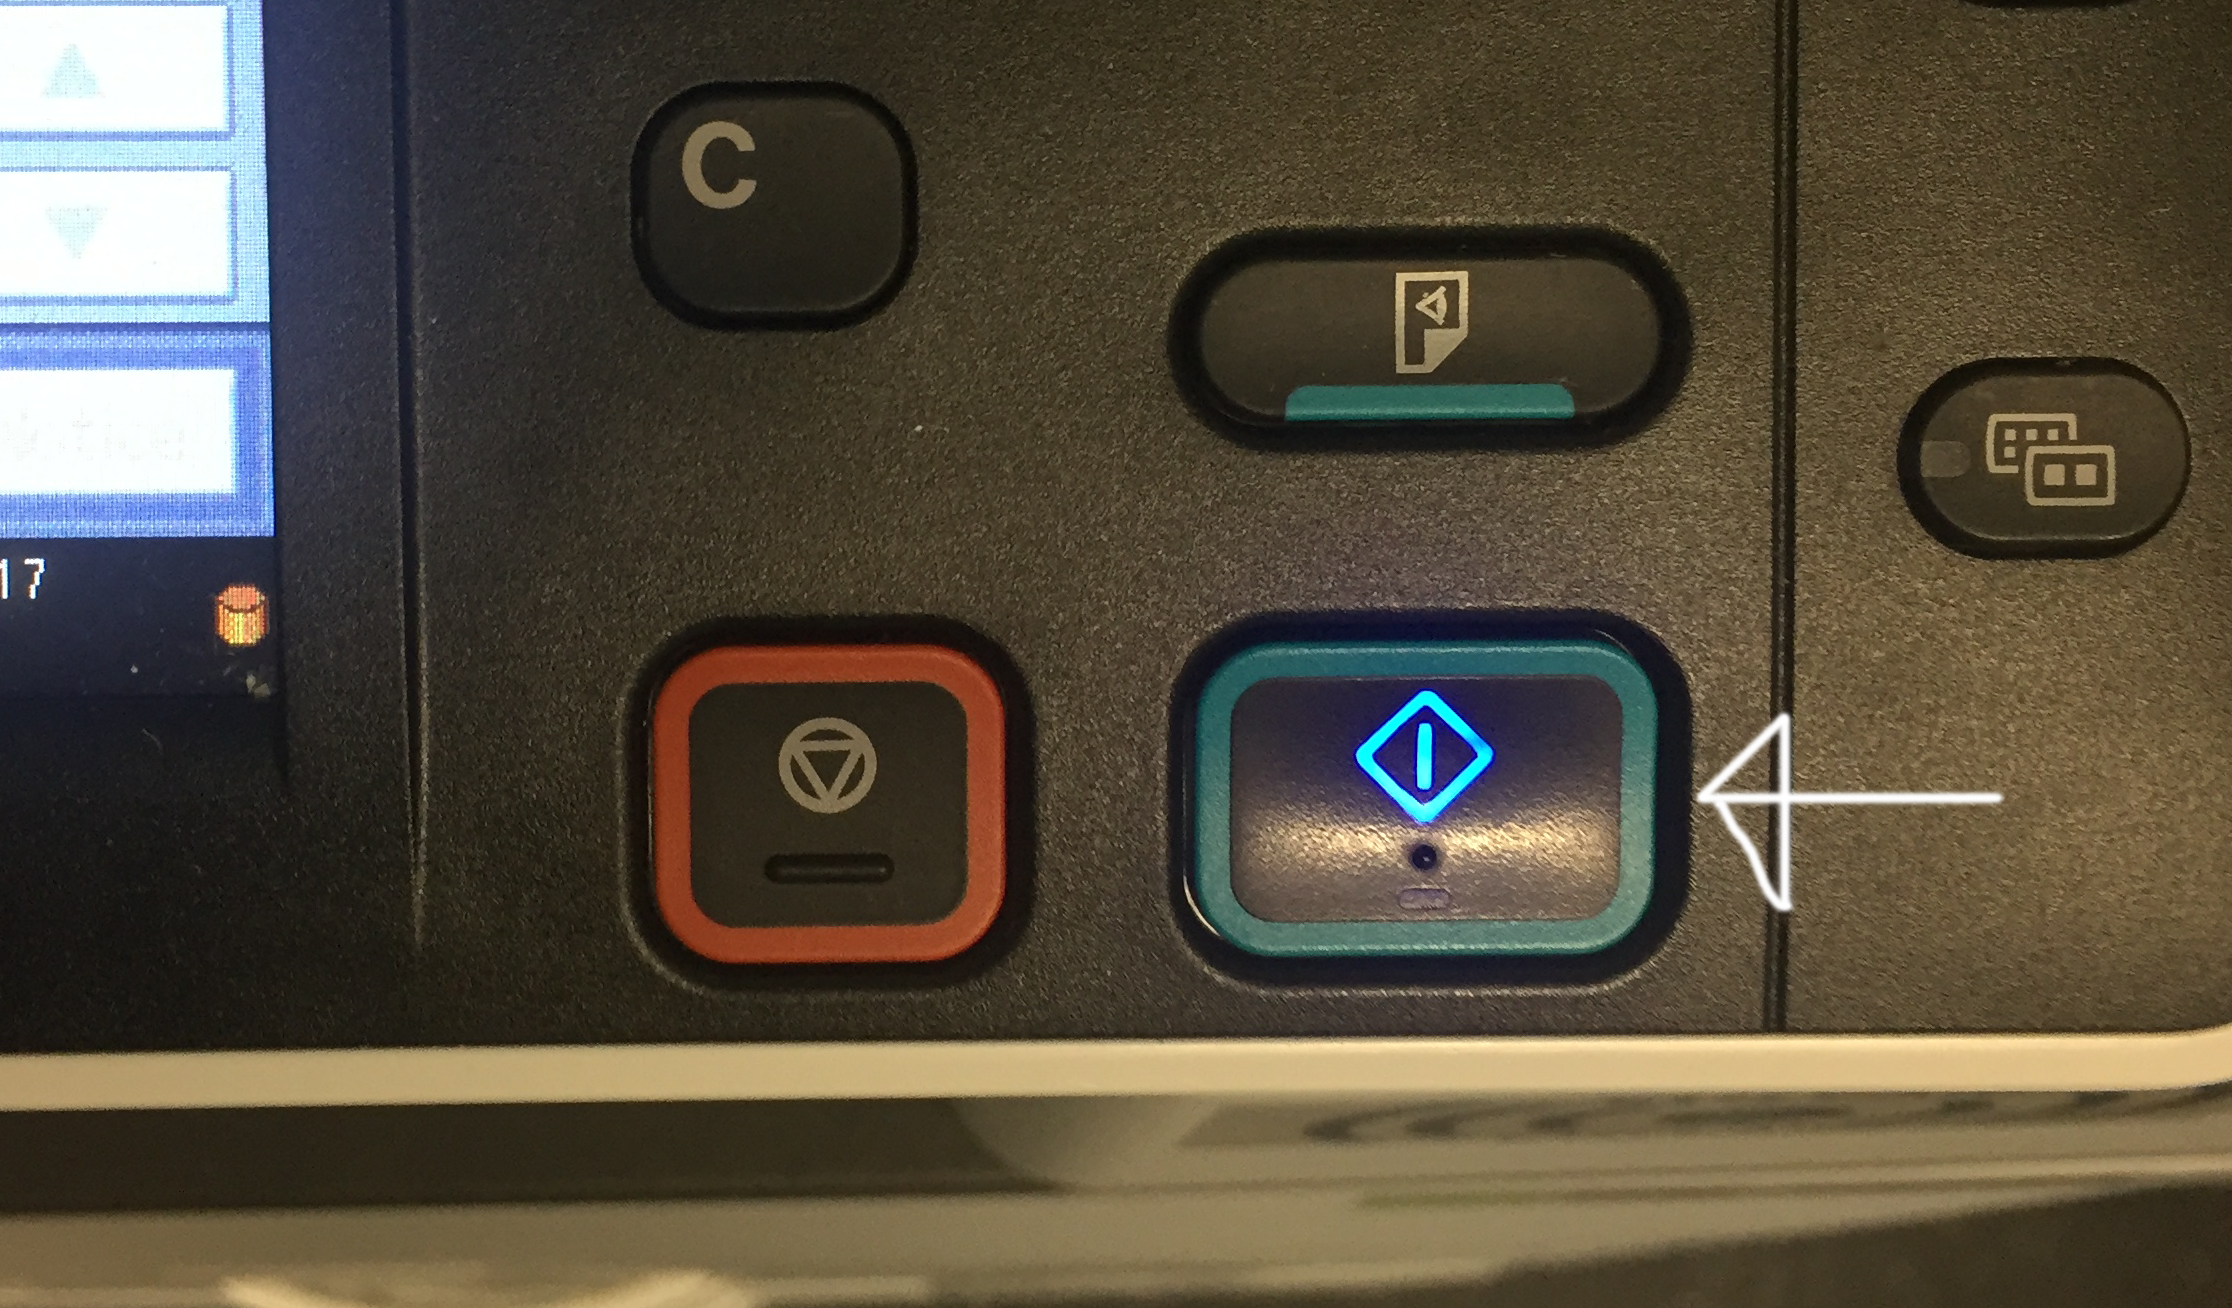
Document feeder
The scans of all the sheets you put in the feeder will be collected to one scan document and the scan process is finished. To scan an other bunch of sheets put it in the feeder, select the destination and press the start button again.
Exposure glass
After the object on the glass is scanned you will be promted to finish the scan process or to put an other document on the glass and scan it to the same scan document by pressing the start button. After you have finished this scan you press # and you can start with a new job by selecting the destination and pressing the start butten again.
6. Retrieve scan at work station
You will find the scanned documents in the folder “scanner” of your group share.
